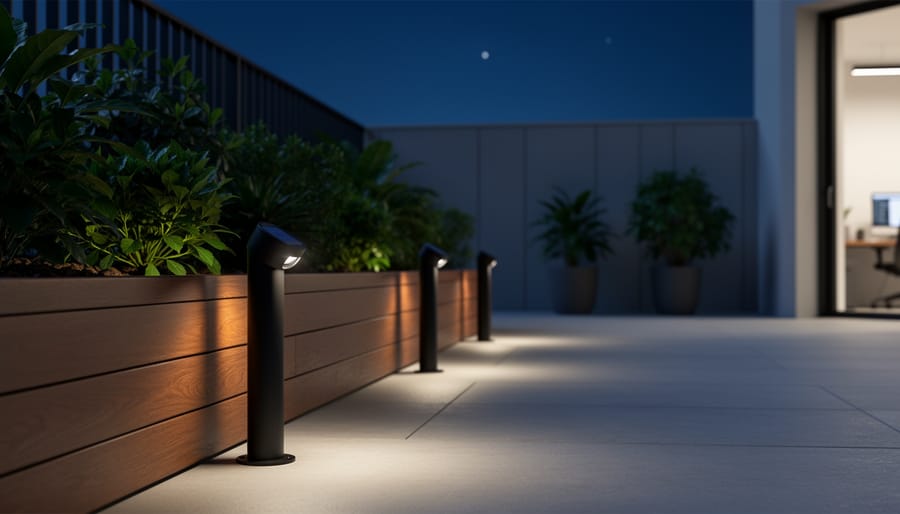
How to Install Outdoor Solar Uplighting to Transform Your Workspace at Night
Installing outdoor solar uplighting is straightforward: mount the fixtures in desired locations, ensure the solar panels receive at least six hours of direct sunlight, and let them charge for 24 hours before first use. Most homeowners complete a typical installation in under two hours with just a handful of basic tools and no electrical wiring required.
Solar uplighting transforms your outdoor workspace, patio, or garden into a functional evening area while slashing electricity costs to zero. These fixtures harness sunlight during the day and automatically illuminate your space after dark, providing reliable ambient lighting without running a single wire to your electrical panel. If you’re tired of choosing between productivity and high utility bills, solar uplighting offers the perfect middle ground.
The technology has evolved significantly by 2026. Today’s solar uplights feature high-efficiency photovoltaic cells that charge even on cloudy days, LED bulbs lasting 50,000 hours or more, and weather-resistant housing that withstands years of outdoor exposure. You’re not sacrificing quality for sustainability anymore.
The real appeal goes beyond convenience. Properly installed solar uplights can cut energy bills dramatically compared to traditional outdoor lighting systems. One homeowner in Oregon reported extending her outdoor studio hours by three hours each evening without adding a cent to her monthly electricity costs. Another small business owner in Arizona illuminated his entire outdoor work yard with solar fixtures and calculated savings of over $200 annually.
This guide walks you through every step, from choosing the right location to verifying your lights perform at peak efficiency, so you can start enjoying brighter evenings and lower costs within days.
What You’ll Need Before You Start
Gathering your materials before you start makes the installation process smooth and frustration-free. Most items are common household tools you probably already own, and the solar uplights themselves come as complete kits from manufacturers.
For a typical outdoor workspace installation, you’ll need solar uplights rated for your specific application. Look for fixtures with at least 200 lumens per unit for functional workspace lighting, anything less works better as pure accent lighting. The 2026 market offers three main types: ground stake models that push directly into soil (ideal for garden studios and lawn-adjacent patios), wall-mount fixtures with adjustable brackets (perfect for garage workshops and fence-lined work areas), and in-ground well lights that sit flush with concrete or pavers. Choose uplights with separate solar panels connected by 10-15 foot cables rather than integrated panel-and-light combos; the flexibility to position panels in full sun while placing lights in shaded work zones makes a massive difference in performance.
Your tool and material checklist breaks down into essentials and helpful upgrades:
- Measuring tape and marking flags to plan your layout
- Rubber mallet for driving ground stakes without damage
- Cordless drill with masonry bits if mounting to walls or concrete
- Level to ensure uplights sit straight and professional-looking
- Wire cutters and cable clips for managing solar panel connections
- Garden trowel or small shovel for creating stable stake holes in hard soil
- Landscape fabric pins if you need to secure wiring runs
- Silicone sealant (optional) for weatherproofing wall-mount installations
- Notebook and smartphone (optional) for documenting panel positions and settings
Don’t buy specialized tools marketed specifically for solar lighting installation, they’re unnecessary. A basic drill, level, and mallet handle 95% of setups. If your workspace sits on a deck or composite surface, grab a handful of small L-brackets and stainless screws; you’ll attach a small mounting plate rather than stake directly into the material.
Safety Precautions and Site Assessment
Before you start installing, take time to address safety concerns and evaluate your workspace thoroughly. Even though solar uplights eliminate the shock hazard of hardwired systems, you still face risks from ladders, uneven terrain, and hidden obstacles.
Start by surveying your outdoor workspace during daylight hours. Walk the perimeter and note where you need illumination after dark, then check those spots for stability and accessibility. If you’re planning ground-mounted uplights, test the soil firmness by pushing a screwdriver into potential locations. Rocky, root-filled, or extremely hard ground may require pre-drilling or alternative mounting solutions.
Sun exposure matters even more than you might expect. Your solar panels need at least four to six hours of direct sunlight daily to charge effectively. Look up and identify any tree canopy, building overhangs, or tall structures that cast shadows across your workspace area throughout the day. Those shade-drenched spaces will compromise battery performance and leave you with dim or non-functional lights at night.
Consider calling a professional if your installation involves mounting uplights above eight feet, drilling into brick or masonry without experience, or working near overhead power lines. Licensed electricians or landscape lighting specialists can handle complex installations safely while ensuring your system performs as intended. The modest cost often proves worthwhile compared to potential injuries or equipment damage from DIY mistakes.
Planning Your Uplight Layout for Maximum Workspace Impact
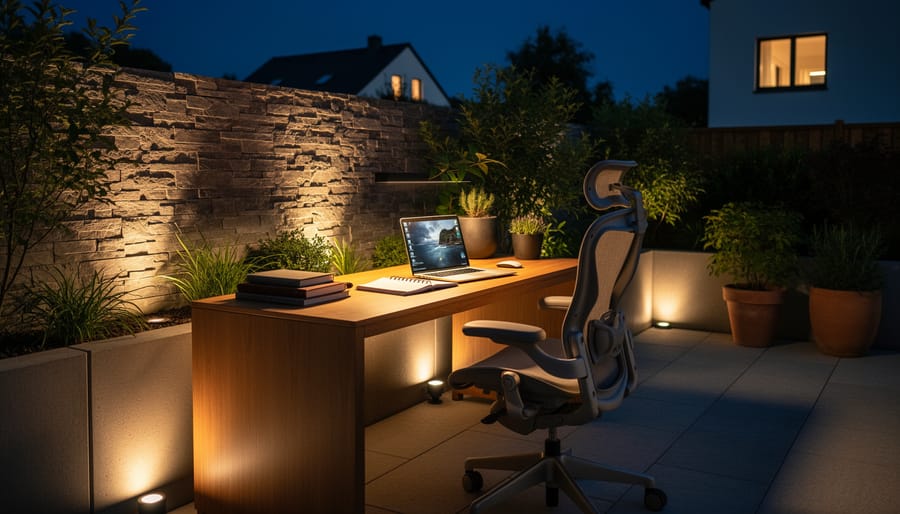
Start by mapping your workspace boundaries and identifying where you actually need light to work comfortably. For most outdoor work areas, you’ll want one uplight for every 50-75 square feet of workspace, but this varies based on fixture brightness and ceiling height. A 10×10 patio office typically needs 2-3 uplights, while a larger garage workshop might require 4-6 units to eliminate shadows in critical work zones.
Position uplights 6-8 feet apart around the perimeter of your workspace rather than clustering them in one spot. This creates even, overlapping coverage that reduces harsh shadows on your desk, workbench, or task area. Angle each light at roughly 30-45 degrees to bounce illumination off walls, fences, or overhead structures. Direct upward angles work well for two-story walls or tall trees that frame your space, while shallower angles better illuminate lower horizontal surfaces where you’re actually working.
Different workspace configurations demand different approaches. Patio offices benefit from uplights behind seating areas, aimed at house walls to create ambient bounce light without glare on laptop screens. Garage workshops need fixtures in corners, angled toward the ceiling to spread light across tool areas and workbenches. Garden studios work best with uplights placed 3-4 feet from exterior walls, highlighting the structure itself while providing enough spill light for pathways and immediate surroundings.
Consider architectural features that naturally reflect light. A white stucco wall bounces significantly more illumination than dark brick, so you might need fewer uplights or lower brightness settings. Overhanging eaves, pergola beams, and tree canopies all act as natural reflectors when properly lit from below. Mark your planned positions with stakes during daylight, then walk through the space at dusk to visualize how shadows will fall. Adjust placement before you start installing.
Step-by-Step Installation Process
Preparing Your Solar Panels and Batteries
Start by unpacking your solar uplights and locating the panels, most 2026 models feature integrated panels on top of the fixture, while some have separate panels with connecting cables. Before installation, give the panels their first full charge: place them in direct sunlight for 8-12 hours, positioned flat or angled directly toward the sun. This initial charge primes the batteries and ensures they’re ready for testing.
Check your workspace area’s sun patterns throughout the day. Panels need at least 6 hours of unobstructed sunlight, so avoid spots shaded by roof overhangs, tree branches, or neighboring structures. South-facing placement works best in most locations, though east or west can work if the area gets consistent morning or afternoon sun.
If your uplights have detachable battery packs, connect them now following the manufacturer’s polarity markings, positive to positive, negative to negative. Recent solar panel breakthroughs mean even compact panels charge faster than older models, but positioning still matters more than panel size.
For separate solar panels mounted remotely, run cables along fence lines or under landscaping, securing them loosely to allow for seasonal adjustments. Keep cable runs under 15 feet when possible to minimize power loss.
Installing Ground Stakes or Wall Mounts
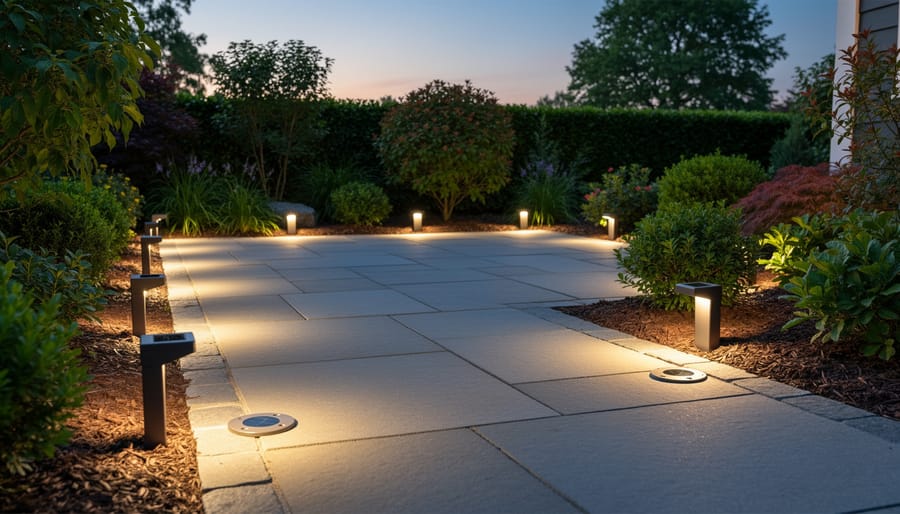
Ground stakes work best in soft soil or mulched areas. Push the stake straight down until only the uplight housing remains visible, typically 6 to 8 inches deep. If you hit resistance, don’t force it. Rock the stake gently back and forth while applying downward pressure, or pre-drill a pilot hole with a screwdriver in compacted soil.
For concrete patios or stone surfaces, you’ll need uplights designed for surface mounting. Clean the mounting area thoroughly with rubbing alcohol. Peel the adhesive backing and press firmly for 30 seconds, or use the included screws if your model provides mounting holes. Mark screw positions with a pencil, drill pilot holes with a masonry bit, insert anchors, then secure the base.
Wall and fence installations require bracket-style mounts. Hold the bracket against the surface at your desired height and angle. Level it with a small bubble level, even a slight tilt affects the light pattern dramatically. Mark hole positions, drill appropriately for your surface material, and attach securely.
Most solar uplights have rotating heads or adjustable necks. Finger-tighten these mechanisms only after you’ve positioned everything, you’ll fine-tune angles in the next step once you see the actual light output at dusk.
Positioning and Angling Your Uplights
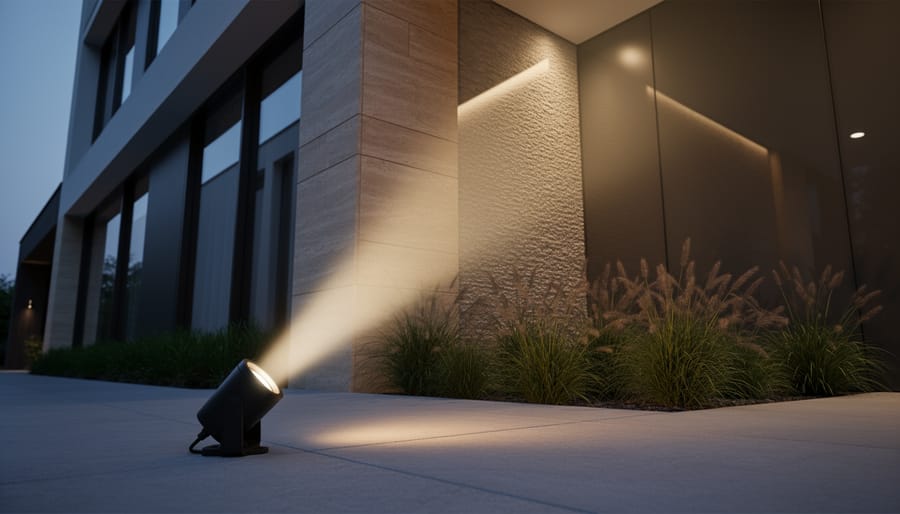
With your uplights secured, the placement and angle will make or break your workspace lighting. Start by positioning each fixture 6-12 inches away from the wall, tree, or feature you’re illuminating. Closer placement creates a narrow, dramatic beam, while farther placement spreads light more evenly across a larger surface.
For workspace illumination, angle uplights to cast light on vertical surfaces where you need visibility, walls behind desks, garage doors, or fence sections near work areas. These reflected surfaces bounce light into your workspace without creating harsh glare. Aim for a 30-45 degree angle from vertical for the most usable light.
If you’re adding aesthetic accents to frame your workspace, angle those uplights steeper (60-75 degrees) to graze textures on stone walls or highlight tree canopies overhead. This creates depth and visual interest without contributing much to task lighting.
Most solar uplights have adjustable heads. Loosen the mounting screw, tilt to your desired angle, then hand-tighten firmly. Don’t over-tighten, you’ll want to fine-tune these positions after dark.
Test each adjustment in real working conditions. Sit at your desk or workbench and verify the light lands where you need it, not in your eyes.
Connecting and Programming Smart Features
If your solar uplights include smart features, take a few minutes to configure them now for hands-free operation. Most 2026 models with app connectivity use Bluetooth or Wi-Fi; download the manufacturer’s app and follow the pairing process, which typically involves holding a button on the light for 3-5 seconds until it flashes.
Once connected, set a timer to match your workspace schedule. Program lights to turn on at dusk and off at your typical end time, or use sunset/sunrise automation if available. Adjust brightness levels through the app, start at 70-80% for workspace illumination, then fine-tune based on your actual needs. Running at lower brightness extends battery life significantly.
If your uplights have motion sensors, decide whether you want them always-on or motion-activated. For dedicated workspaces, always-on provides consistent visibility. Motion activation works well for areas you use sporadically, conserving battery between uses. Set the sensor range and duration through the app; 30-60 seconds of “on” time after detecting movement works for most applications.
Test each feature individually before relying on them. Walk through the sensor range, trigger the timer, and verify brightness adjustments respond correctly. Save your settings as a custom scene for easy recall.
Testing and Adjusting Your System
After completing installation, wait until dusk to see your uplights activate automatically. Most solar lights need several hours of darkness to trigger their sensors, so don’t worry if they don’t illuminate immediately after setup. Check that each fixture turns on and produces the expected brightness level, if you’ve configured smart solar lighting timers or motion detection, test these functions to confirm they’re responding correctly.
If certain lights appear weak or don’t turn on at all, first verify the solar panels are clean and receiving unobstructed sunlight during peak hours. Leaves, dirt, or even a slight shadow from a nearby structure can significantly reduce charging efficiency. For fixtures with solar smart features double-check battery connections and ensure any protective pull-tabs have been removed from the battery compartment.
Once your system runs reliably, fine-tune the angles and positions based on how the light actually illuminates your workspace. You might find that shifting a fixture six inches reveals a better wall texture or eliminates an unwanted shadow across your work area. Make these adjustments during an evening work session so you can immediately see the impact on visibility and ambiance.
Real-World Results: User Experiences with Solar Uplighting
Sarah Martinez, a freelance graphic designer in Austin, transformed her covered patio workspace with six solar uplights last spring. “I was skeptical they’d be bright enough for evening client calls, but the difference is incredible,” she says. “The uplights eliminate harsh overhead shadows on video, and I’ve saved about $30 monthly by not running my outdoor electrical lights until 10 PM.” She installed the entire system in under two hours without professional help.
James Chen operates a small landscaping business from his suburban garage workshop. After adding solar uplights around his equipment storage area, he reports working comfortably an extra hour each evening during peak season. “The installation was straightforward, just stake them in the ground and adjust the angle. My electric bill dropped, and clients love the professional look when they pick up equipment after dark.”
Retirement planner Linda Ochoa uses her garden studio for evening consultations. “The uplights make my space feel like an upscale office rather than a backyard shed. Installation took about 45 minutes, and they’ve worked flawlessly through two winters in Portland. The motion sensor feature means they’re not wasting charge when I’m not out there.”
Common Questions About Solar Uplight Installation
How long does it take to install solar uplighting?
Most homeowners complete a basic installation of 4-6 uplights in 1-2 hours. Ground stake installations go fastest, while wall-mounted units may take slightly longer if you need to drill into brick or concrete.
Will the lights survive harsh weather conditions?
Quality solar uplights come with IP65 or IP67 ratings, meaning they’re fully protected against rain, snow, and dust. They’re designed to operate year-round, though heavy snow accumulation may temporarily block solar panels until cleared.
How do solar uplights perform during winter months?
Winter operation depends on your location and available sunlight. Shorter days mean less charging time, so lights may run for fewer hours each night. In regions with consistent winter sun, performance drops by 30-40% compared to summer, which is usually sufficient for workspace needs.
What maintenance do solar uplights require?
Maintenance is minimal, wipe solar panels monthly to remove dirt and debris, and clean light lenses as needed. Most batteries last 2-3 years before requiring replacement, which is a simple process on modern units.
Beyond these basics, you might wonder whether solar uplights work alongside your existing wired outdoor lighting. The answer is yes. Solar uplights operate independently, so they won’t interfere with traditional fixtures. You can use both systems simultaneously or program smart solar uplights to activate only when wired lights are off, maximizing efficiency.
Installation difficulty genuinely varies based on your workspace setup. Flat lawns and garden beds represent the easiest scenarios, while uneven terrain or dense root systems require more patience. If you’re mounting to structures, basic drilling skills help, but the process rarely demands professional intervention. Start with one or two lights to build confidence before tackling your full workspace layout.
Installing outdoor solar uplighting for your workspace doesn’t require professional expertise or a major investment. With basic tools and a few hours on a weekend, you can transform your outdoor work area into a functional, well-lit space that extends your productive hours while slashing your electricity bills.
Start small if you’re hesitant. Install two or three uplights in your most-used workspace zones and observe the difference they make over a week or two. You’ll quickly see how improved visibility changes your evening work sessions and how much ambiance the right lighting adds to your outdoor environment.
Once you’ve experienced the benefits firsthand, expansion becomes natural. Consider adding pathway lighting to connect your workspace to your home, or install downlights on pergolas for overhead illumination. Many homeowners find that their initial workspace installation sparks a broader outdoor lighting transformation.
The beauty of solar technology is its flexibility. You’re not locked into an electrician’s schedule or committed to expensive wiring changes. Add lights when you’re ready, move them if your workspace layout shifts, and enjoy the freedom of truly renewable outdoor lighting that works as hard as you do.