
Solar Panel Wiring Made Simple: A Homeowner’s Path to Safe Installation
Master your solar panel installation process with a properly designed wiring diagram – the crucial blueprint that determines your system’s safety and efficiency. Understanding your solar panel wiring configuration isn’t just about connecting cables; it’s about creating a reliable power generation system that will serve you for decades.
A well-executed wiring diagram prevents costly mistakes, ensures optimal power output, and maintains compliance with local electrical codes. Whether you’re planning a simple grid-tied system or a complex off-grid setup with battery storage, your success begins with a detailed wiring schematic that maps every connection from panels to inverter to electrical panel.
This guide breaks down the essential components of solar panel wiring diagrams, helping you understand series and parallel connections, voltage considerations, and safety requirements. We’ll walk through the critical decisions that impact your system’s performance, from choosing the right gauge wire to positioning disconnect switches – all while keeping your installation safe and code-compliant.
Remember: Your solar array is only as good as its electrical foundation. Let’s ensure you get it right from the start.
Essential Components of a Solar Panel Wiring System

Solar Panels and Junction Boxes
Each solar panel comes equipped with a junction box on its backside, which serves as the central connection point for the panel’s wiring. These junction boxes contain diodes that prevent reverse current flow and protect your panels from potential damage. When connecting multiple panels, you’ll need to properly wire them through these junction boxes to create either a series or parallel configuration.
Inside the junction box, you’ll find positive and negative terminals clearly marked. Most modern panels come with MC4 connectors pre-attached, making it easier to create secure connections. When wiring multiple panels, ensure that positive terminals connect to negative terminals in series connections, while parallel connections require positives linked to positives and negatives to negatives.
For outdoor installations, it’s crucial to use waterproof cable glands where wires enter the junction box. This prevents moisture from compromising your electrical connections. Remember to leave enough slack in your wiring to accommodate panel movement and thermal expansion, but avoid creating loose loops that could catch wind or debris.
Always double-check your connections before sealing the junction box, and use appropriate weatherproof sealant to ensure long-term protection of your wiring components.
Charge Controllers and Inverters
The heart of your solar power system lies in properly connecting charge controllers and inverters. These components ensure efficient power management and conversion from DC to AC power. When wiring your charge controller, connect it between the solar panels and batteries, maintaining correct polarity (positive to positive, negative to negative). Use appropriately sized cables based on your system’s amperage – typically 8 to 2 AWG wire for residential installations.
For your inverter setup and configuration, ensure the DC input connections match your battery bank’s voltage. Most residential systems use 24V or 48V configurations. Mount the inverter in a cool, dry location and use heavy-gauge cables for the battery connections to handle high current flow.
Remember to install circuit breakers or fuses between components for safety. Place a DC disconnect switch between the batteries and inverter, and an AC disconnect between the inverter and your main electrical panel. This setup allows for safe maintenance and meets most local electrical codes.
Basic Wiring Configurations
Series vs. Parallel Connections
When connecting solar panels, you have two main options: series and parallel connections. Each configuration serves different purposes and offers unique benefits for your solar installation.
In a series connection, solar panels are linked like a chain, with the positive terminal of one panel connecting to the negative terminal of the next. This configuration increases the total voltage while maintaining the same current. For example, if you connect two 12V panels in series, you’ll get 24V output with the same amperage. Series connections are ideal when you need higher voltage for your inverter or charge controller.
Parallel connections work differently – all positive terminals connect to a single positive wire, and all negative terminals to a single negative wire. This setup maintains the same voltage while increasing the current (amperage). Two 12V panels in parallel still produce 12V, but with doubled amperage. Parallel configurations work best when you need more current while keeping voltage constant.
Many solar installations use a combination of both configurations, called series-parallel connections. This hybrid approach helps achieve the ideal voltage and current requirements for your system while maintaining efficiency. The choice between series or parallel largely depends on your equipment specifications, particularly your inverter’s input requirements and your power needs.
Remember to always check your equipment’s specifications before deciding on a connection type. Using the wrong configuration could lead to reduced efficiency or even damage to your components.

Combining Series and Parallel
Combining series and parallel configurations in your solar panel system offers the best of both worlds, allowing you to optimize both voltage and current for maximum efficiency. When you connect panels in series, you increase the voltage while maintaining the same current. Adding panels in parallel increases the current while keeping voltage constant.
Here’s how to create an effective hybrid setup: First, determine your inverter’s specifications for maximum voltage and current input. Then, create “strings” of panels connected in series to reach your target voltage. Finally, connect these strings in parallel to achieve your desired current output.
For example, if you have 12 panels and need 48V for your inverter, you might wire three panels in series (creating 36V per string) and then connect four of these strings in parallel. This configuration gives you both the voltage you need and increases your overall current capacity.
Keep these important tips in mind:
– Always use panels with matching specifications in series connections
– Ensure string lengths are identical when connecting in parallel
– Install blocking diodes between parallel strings to prevent reverse current
– Use appropriate gauge wiring for your total current
– Double-check all connections before final installation
This combined approach helps maximize your system’s power output while maintaining safe and efficient operation. Remember to consult your local electrical codes and equipment specifications when planning your configuration.
Step-by-Step Connection Process
Panel-to-Panel Connections
When connecting multiple solar panels, you’ll need to decide between series and parallel configurations based on your system’s requirements. In series connections, the positive terminal of one panel connects to the negative terminal of the next, increasing voltage while maintaining the same current. Parallel connections link all positive terminals together and all negative terminals together, maintaining voltage while increasing current.
Start by ensuring all panels are the same model and rating for optimal performance. Use MC4 connectors, which are industry-standard and weather-resistant, to make secure connections between panels. For detailed steps, refer to our complete installation guide.
When wiring in series, connect the positive (+) terminal of the first panel to the negative (-) terminal of the second panel. Continue this pattern until all panels are connected. For parallel connections, use combiner boxes to safely join multiple strings, ensuring proper wire gauge selection to handle the increased current.
Remember these key points:
– Always verify polarity before making connections
– Use UV-resistant solar cable rated for outdoor use
– Install string fuses for parallel configurations
– Maintain proper cable management with appropriate supports
– Double-check all connections before system activation
Keep in mind that local regulations may limit the maximum voltage in a series string, typically around 600V for residential systems. When in doubt, consult a certified electrician to ensure your configuration meets all safety requirements and operational specifications.
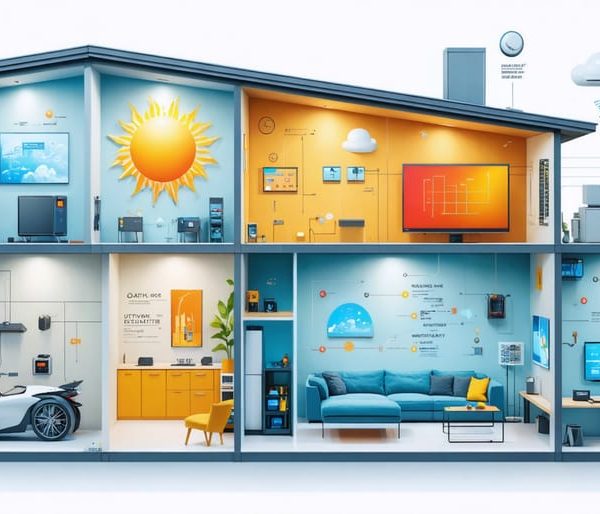
System Integration
Once your solar panels are properly mounted and wired together, the next crucial step is connecting them to your charge controller and inverter. This integration enables your system to convert and store solar energy effectively for household use.
Start by connecting your solar array to the charge controller, which regulates the voltage and current flowing from your panels to the batteries. Most modern charge controllers are either PWM (Pulse Width Modulation) or MPPT (Maximum Power Point Tracking) types. MPPT controllers are more efficient and better suited for larger systems, though they’re typically more expensive.
Run appropriate gauge cables from your array’s combiner box to the charge controller, maintaining proper polarity throughout. Remember to install a circuit breaker or fuse between the panels and charge controller for safety. The charge controller then connects to your battery bank, which stores the collected energy.
From the batteries, connect to your inverter, which transforms the DC power into AC power that your home can use. Choose cables thick enough to handle the maximum current flow, and ensure all connections are weather-tight and properly insulated.
For grid-tied systems, you’ll need a grid-tie inverter that synchronizes with your utility power. Off-grid systems typically use battery-based inverters with additional features like battery charging and load management.
Always double-check your connections before activating the system, and consider having a licensed electrician verify your work. Remember to install disconnects at key points in the system for maintenance and emergency shutdown purposes. Proper system integration ensures optimal performance and longevity of your solar installation.
Safety Measures and Best Practices
Required Safety Equipment
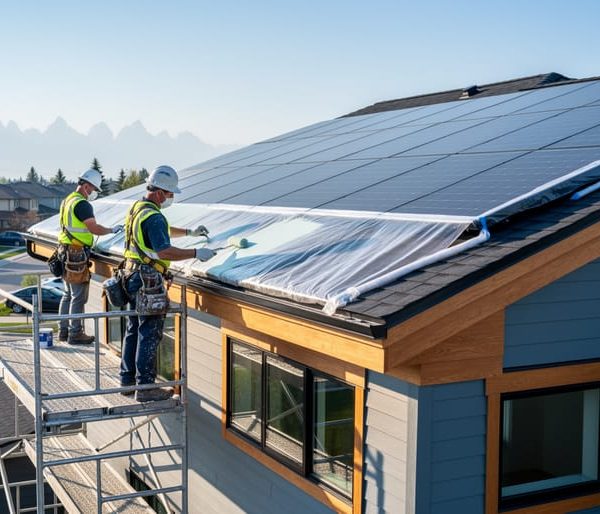
Before starting any solar panel wiring installation, it’s crucial to have the right safety equipment on hand. Your personal protection should always come first, starting with a pair of well-insulated electrical gloves rated for the voltage you’ll be working with. These gloves must be free from tears or damage to ensure maximum protection.
A reliable safety helmet with electrical protection rating is essential, as you’ll often be working at heights and around electrical components. Safety glasses or goggles with side shields protect your eyes from accidental sparks, dust, and debris during installation work.
Non-conductive footwear with rubber soles provides essential grounding protection. Choose boots that are specifically designed for electrical work and ensure they’re completely dry before use. A long-sleeve shirt and pants made from natural fibers offer additional protection against electrical hazards.
Keep a properly rated multimeter nearby to test circuits and verify power status. An insulated tool set is non-negotiable – regular tools won’t provide adequate protection against electrical current. Include insulated screwdrivers, wire strippers, and pliers in your toolkit.
For emergency situations, maintain a well-stocked first aid kit and keep a fire extinguisher rated for electrical fires (Class C) within easy reach. Finally, don’t forget to have a reliable communication device to call for help if needed.

Common Wiring Mistakes to Avoid
When installing solar panels, even small wiring mistakes can significantly impact your system’s performance and safety. One common error is incorrect wire sizing – using cables that are too thin can lead to voltage drops and potential fire hazards. Always consult wire gauge charts and factor in both current capacity and distance.
Another frequent mistake is improper connector matching. Using different brands or types of connectors together can create loose connections and arcing risks. Stick to the same manufacturer and connector type throughout your installation.
Reverse polarity connections are particularly dangerous, potentially damaging your inverter and other components. Double-check that positive and negative terminals are correctly matched before making final connections. Color-coding your wires (red for positive, black for negative) can help prevent these mix-ups.
Poor grounding is often overlooked but crucial for maintaining solar panel efficiency and safety. Ensure all components are properly grounded according to local electrical codes, and use appropriate grounding hardware.
Lastly, avoid exposed wiring and loose connections. All connections should be weather-protected and secured in junction boxes. Use UV-resistant cable ties and conduits to protect wiring from environmental damage, and regularly inspect connections for signs of wear or loosening.
As we’ve explored throughout this guide, proper solar panel installation wiring requires careful planning, attention to detail, and a strong commitment to safety. Remember that while DIY solar installation can be rewarding and cost-effective, it’s crucial to follow all local codes and regulations, use the right tools and components, and prioritize safety at every step.
The key takeaways from our discussion include using appropriate gauge wiring for your system’s voltage and current requirements, installing proper disconnects and protection devices, and ensuring weatherproof connections throughout your installation. Always double-check your wiring connections, use appropriate conduit for wire protection, and maintain proper polarity in your circuit designs.
While the prospect of installing your own solar system might seem daunting at first, breaking down the process into manageable steps makes it achievable for many homeowners. However, if you’re ever unsure about any aspect of the installation, don’t hesitate to consult with a certified electrician or solar installer. The investment in professional guidance is always worth it when it comes to electrical safety.
Remember that a well-planned and properly executed solar installation can provide decades of reliable, clean energy for your home. Take your time, follow the diagrams carefully, and always prioritize safety over speed. Your dedication to proper installation practices will pay off in the long run with a robust, efficient, and safe solar power system.


